|
To run the AduJava demo you must have the Java SDK installed on your computer. Visit
the Sun Microsystems web page and download the J2SE software development kit. At the time
this article was written the SDK was called j2sdk-1_4_2_07-windows-i586-p.exe but that is
sure to change.
Download the AduJava demo archive.
Extract the AduJava.zip onto your hard drive.
Edit the setpath.bat file so that it points at the directory in which java is installed
on your computer. On my computer java is in C:\j2sdk1.4.2_07\bin so the set path command
is:
set path=%path%;C:\j2sdk1.4.2_07\bin
Or as viewed through everyone's favourite text editor:

Open a DOS command prompt window.
Change to the directory containing AduJava.class:
cd C:\AduJava
Run the setpath.bat file that you prepared earlier:
setpath
Run the AduJava demo using the java launcher:
java AduJava
The default actions for the demo are to set all relays off and then set relay K0 on
with the "mk1" command. You should hear a click if you run this with an ADU200
board that has mechanical relays.
The screen should look like this:
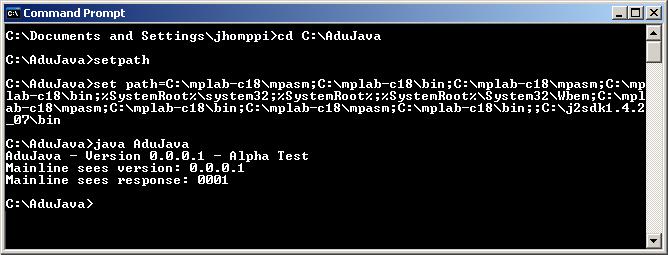
Note: The set path command displays a long string of directories that will not match the
display on your screen. That is OK since the path should match your environment and not
mine. Just ensure that the directory containing java is included in the path displayed on
your screen.
Our example board has LEDs wired to the relays so that we can see that relay K0 is on.

More examples can be seen here.
AduJava Help File Version 1.0.0.0
Copyright 2005 Ontrak Control Systems Inc.
|